If your AI try-on results look off, the problem isn’t the technology – it’s the photo. This guide breaks down how to take perfect try-on photos that deliver accurate, realistic AI results. Learn what lighting, angles, backgrounds, and poses actually work, plus how to use tools like TryFits AI for next-level outfit realism.
The Problem: When AI Try-Ons Don’t Look Like You
You upload a photo, pick a stylish jacket, and wait for the AI magic… only to see a result that looks slightly off. Maybe the fit looks distorted, your skin tone is too shadowed, or the clothing appears pasted on. It’s frustrating, especially when the tech promises realism.
Here’s the truth: even the smartest AI tools depend on good source photos. If your lighting, angle, or pose are off, the AI will have less to work with. Bottom line: realistic try-on results start with a realistic photo.
Solution 1: Get Your Lighting Right – The Foundation of Realism
Why Lighting Matters
Lighting is the number-one factor that determines how natural your AI try-on looks. Good lighting gives the AI accurate color data and depth cues for your body shape. Bad lighting creates shadows, color distortion, and texture loss – which the AI can’t fully fix.
Here’s What Works
- Use indirect daylight. Stand facing a window during the daytime. Avoid direct sunlight that creates harsh lines.
- Avoid overhead lighting. It casts unwanted shadows under your eyes and chin.
- Skip colored lights. RGB or warm bulbs distort skin tones, making clothes look different than they really are.
- Pro tip: If shooting indoors at night, use two soft white lamps on either side of you for even lighting.
Real-World Example
Imagine taking a try-on photo in your bedroom. If your main light source is a ceiling bulb, the shadows on your face will make the AI struggle to place collars or necklines correctly. But if you move near a window and use natural light, the result looks dramatically more realistic.
Solution 2: Nail the Angle – Let the AI “See” You Accurately
The Common Mistake
Most people tilt the camera slightly up or down, not realizing how much that distorts body proportions. The AI model reads this as shape data, so even a small tilt can alter how clothes drape or fit in the final image.
Here’s What Works
- Keep the camera at chest or waist height. This creates a natural proportion similar to fashion lookbooks.
- Use a tripod or stable surface. Shaky selfies lead to subtle blur that affects detail detection.
- Center your body. Make sure your full torso and upper legs are visible if the app supports full-body try-ons.
- Stand 4-6 feet away from the camera. This distance keeps proportions accurate without fisheye distortion.
Example Setup
Set your phone on a dresser or shelf, about waist height. Step back until your upper body and hips are visible, then check the preview to make sure your head and shoulders aren’t cropped. This simple adjustment alone can double the realism of your AI try-on results.
Solution 3: Simplify the Background – Give the AI Room to Work
Why Backgrounds Matter
Cluttered backgrounds confuse object detection models. When the AI has to separate you from your environment, every shadow, chair, or pile of clothes adds complexity and risk of artifacts.
Here’s What Works
- Use a plain wall. White, gray, or beige works best.
- Avoid mirrors or reflective surfaces. They can trick the algorithm into thinking there are two figures.
- Check for even lighting. If one side of your wall is darker, it can distort how the AI reads your shape.
- Pro tip: Apps like TryFits AI automatically refine background segmentation, but clean input still helps the AI deliver seamless edges and lifelike results.
Before and After
- Before: You stand in front of your closet, half-lit, with shadows on your legs. The AI outfit looks flat and grainy.
- After: You move to a bright wall, fix your lighting, and center your body. The AI output suddenly looks like a real photo shoot.
Solution 4: Perfect Your Pose – Keep It Natural and Symmetrical
The Role of Posing
AI tools map clothing onto your body using posture cues. If your pose is awkward or asymmetrical, the final fit might look warped or unrealistic. The goal is not to “pose” dramatically – it’s to be natural, balanced, and still.
Here’s What Works
- Stand relaxed, arms slightly away from the body. This helps the AI read sleeve and torso space accurately.
- Keep shoulders level. Tilting makes clothing drape unnaturally in the output.
- Face forward or at a slight 10-degree angle. This gives the AI dimensional context without hiding key details.
- Stay still. Motion blur, even subtle, reduces clothing texture accuracy.
Example Scenario
Let’s say you’re trying to see how a virtual jacket fits. A straight-on, balanced stance gives the AI the best base. Leaning or twisting can make the jacket appear to hang incorrectly, even if the AI model is advanced.
Solution 5: Dress Smart Before You Try On
Why Base Clothing Matters
The clothes you wear under the try-on layer affect how the AI overlays garments. Baggy shirts, patterns, or thick fabrics create bumps and shadows that confuse texture mapping.
Here’s What Works
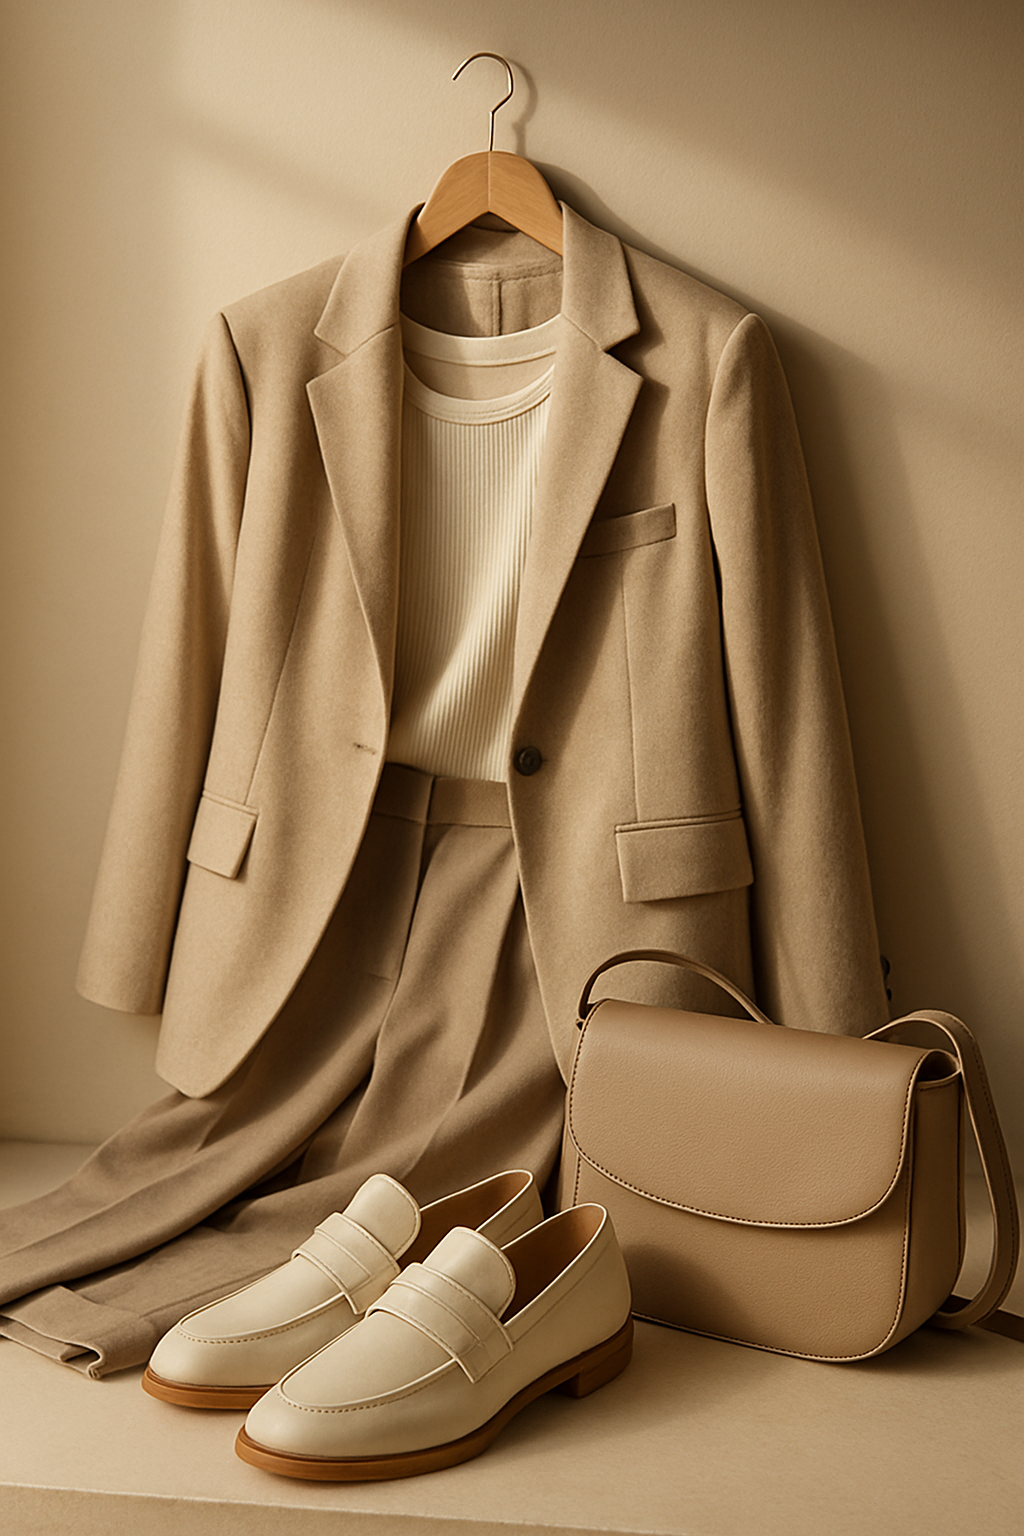
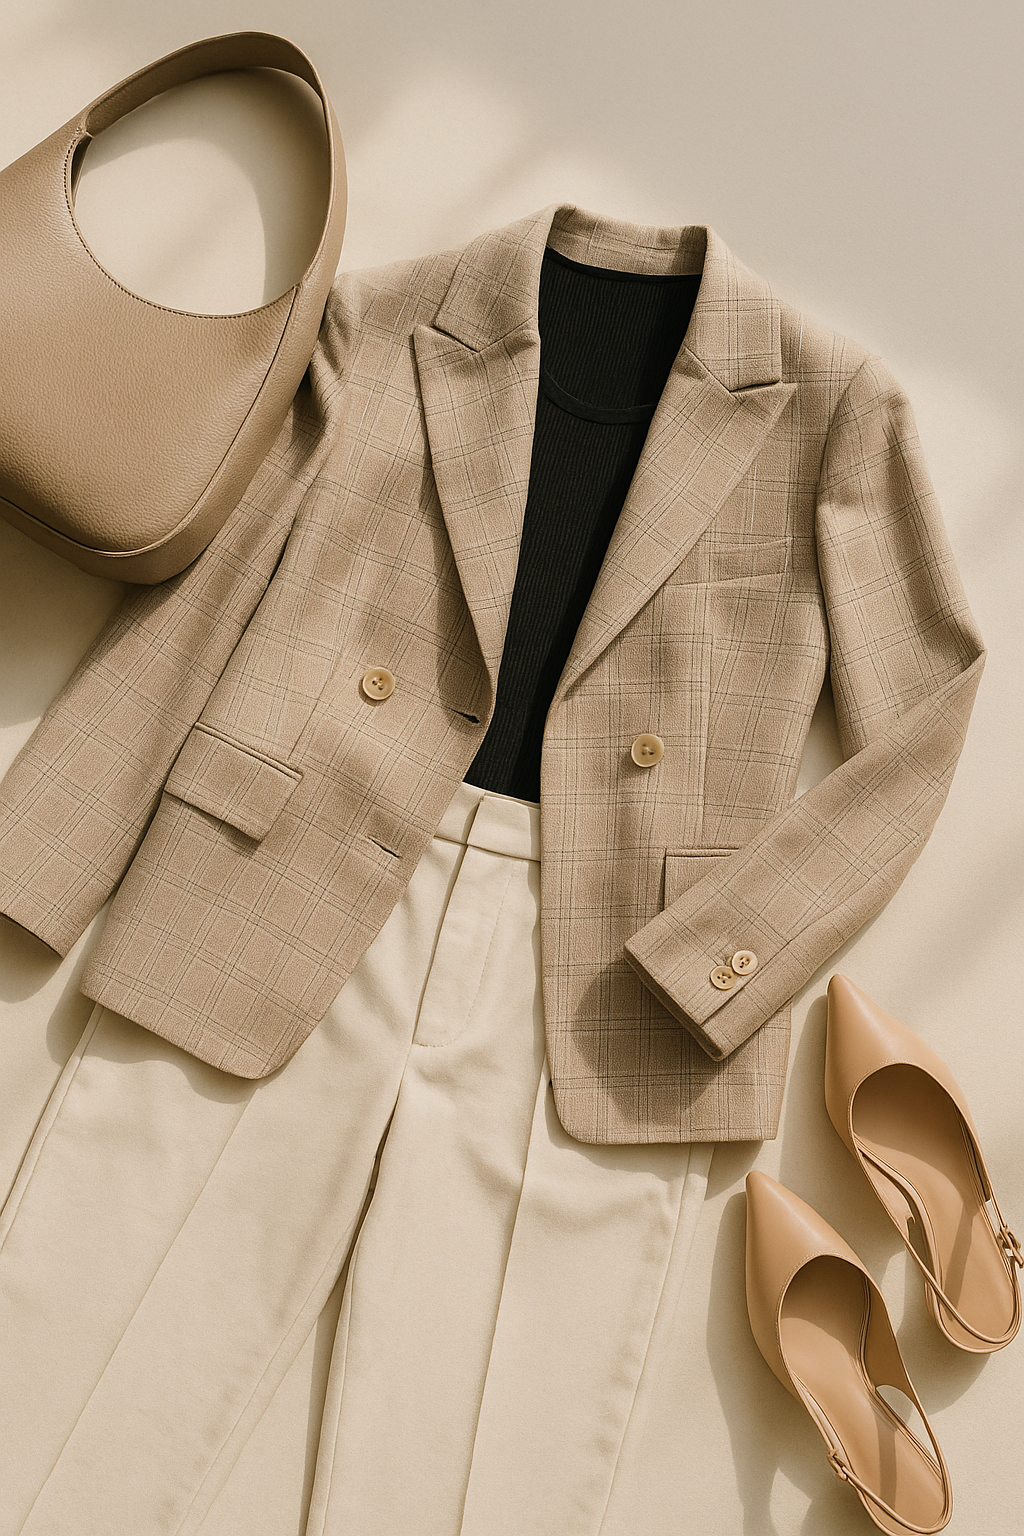
- Wear fitted, solid-colored clothing. Ideally neutral tones like white, beige, or gray.
- Avoid busy prints or text. They distract the algorithm from your silhouette.
- Keep accessories minimal. Necklaces or scarves can misalign collars or tops.
Pro Example
Before using TryFits AI, try wearing a simple tank top or slim t-shirt. The AI overlays will read your body lines cleanly, giving realistic sleeve length and shoulder fit.
Solution 6: Upgrade with Tools that Enhance Realism
When to Use Advanced Features
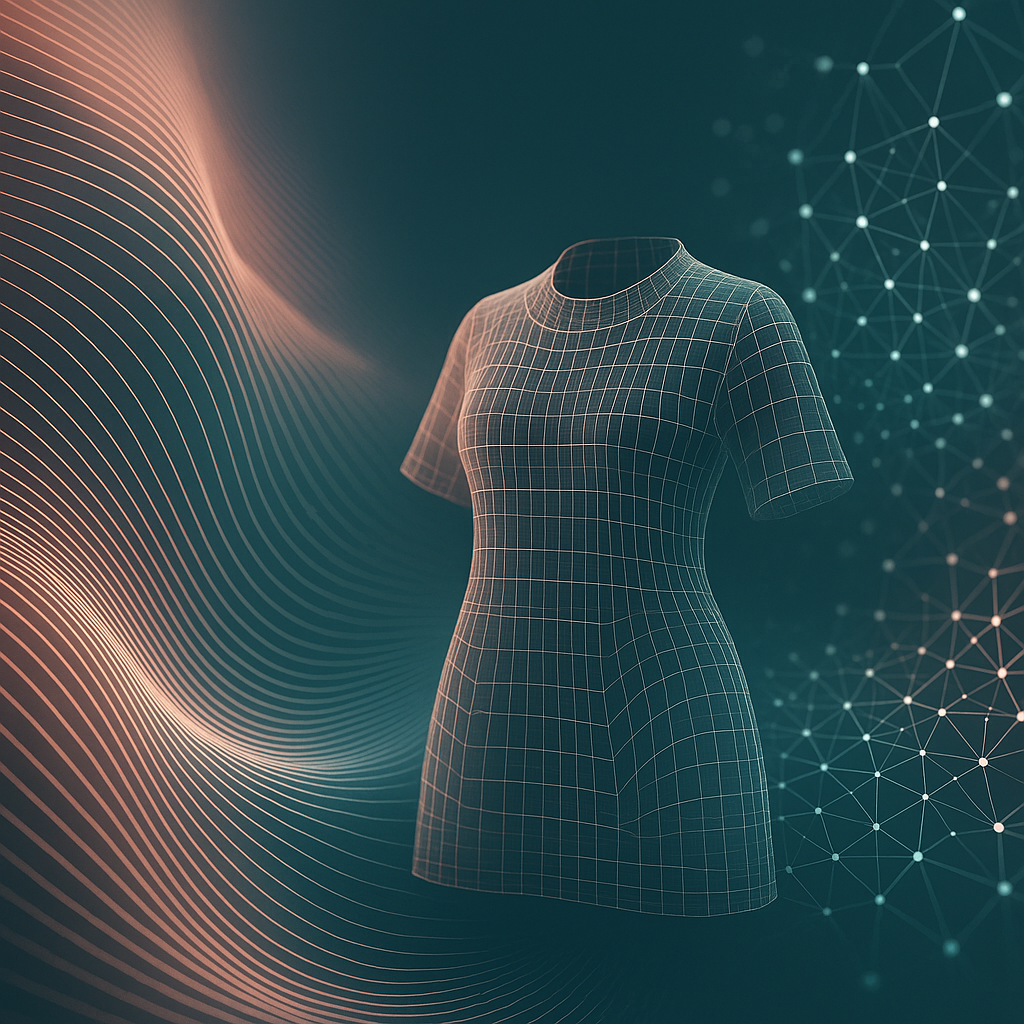
Even with a great photo, you can level up your results with AI apps that include realistic lighting, shadow blending, and 3D drape simulation. These go beyond flat overlays to produce cinematic-quality results.
Here’s What Works
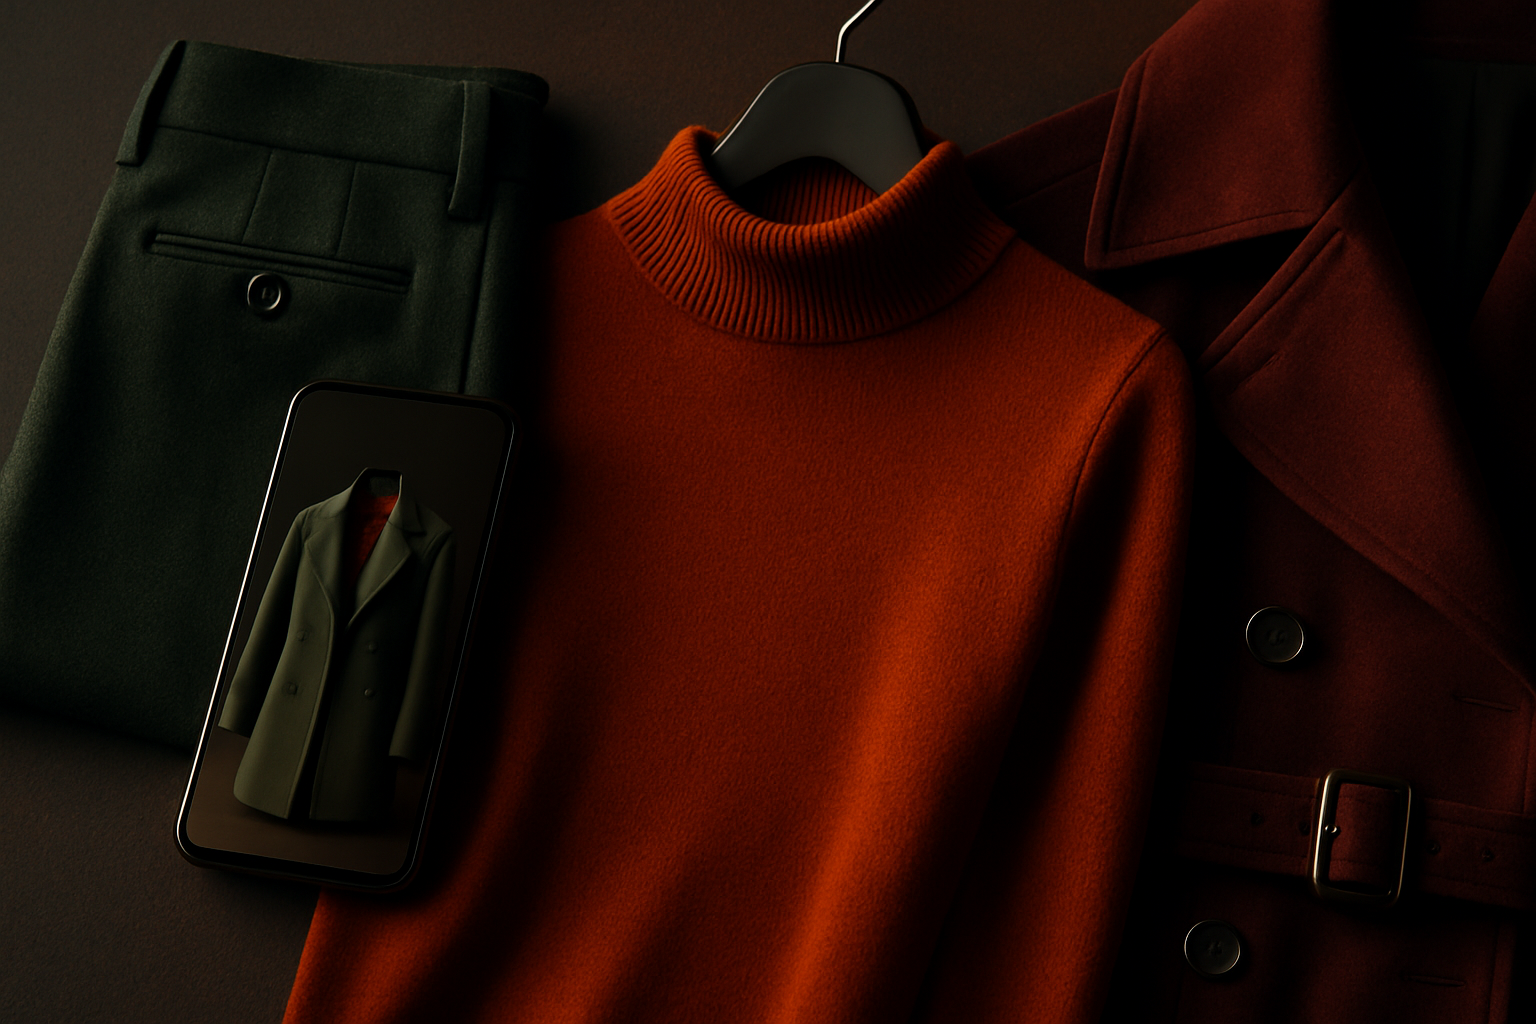
- Use an AI try-on app that offers video or dynamic try-ons. For example, TryFits AI lets you see outfits move naturally with your body for lifelike previews.
- Check color calibration. Some apps let you adjust lighting or tone so fabrics look closer to reality.
- Experiment with multiple poses. TryFits AI’s “Smart Capture” mode gives consistent framing for better outfit comparisons.
Bottom Line
Great AI results don’t come from luck – they come from process. Good lighting, angles, poses, and smart tools like TryFits AI combine to give you fashion visuals that could pass for a real photo shoot.
Solution 7: Troubleshoot Common Mistakes
What to Do When Results Look Off
- Clothing looks stretched or floating: You might be leaning or the photo angle is too high. Re-shoot straight-on.
- Outfit color looks faded: Check for overexposure. Adjust brightness or move away from direct sunlight.
- Edges look jagged: Make sure your background isn’t cluttered. Simpler backgrounds help segmentation.
- Skin tone looks unnatural: Try balanced lighting and avoid colored bulbs. Natural daylight works best.
Quick Fix Checklist
- Step in front of a clean wall
- Use natural daylight or balanced lighting
- Center your body in frame
- Keep your posture neutral and still
- Wear fitted, solid clothing
Conclusion: Capture Once, Try-On Forever
Getting a realistic AI try-on isn’t about filters or editing tricks. It’s about starting with a well-lit, well-composed photo that gives the technology the data it needs to shine. Once you master that, your digital try-ons will look like high-end editorial shots.
Ready to see how that outfit looks on you? Download TryFits AI and capture your perfect try-on photo. With the right setup, you’ll see just how real virtual style can look – no guesswork, no surprises, just fashion made smarter.